
The Pick tool is the most useful in CorelDraw, and I’ll show how to utilize it. This tool, in particular, provides unrivaled versatility in picking, moving, and manipulating objects, making it essential for successful design work.
Recognizing the usefulness of such skills is more crucial than ever in today’s world when many young people are learning design online. In this digital age, being self-sufficient in using these tools is a step toward mastering graphic design.
Pick Tool Introduction
The Pick tool in CorelDraw is like a hand that follows my commands, making it one of the tools I use most often. It’s super important to get how it works in CorelDraw.
The Pick tool allows you to select objects, alter directions, duplicate, move, and resize items. As a result, you have two options for doing so. You can click on an object or choose numerous things by drawing a selection around them.
It’s the default approach to select several objects using a marquee. You can also select multiple objects by holding the Shift key on your keyboard.
Learn From the Pick Tool Tutorial
Before you start to learn the Coreldraw Pick tool learning process, I suggest taking notes while practicing. If you haven’t tried CorelDraw yet, I am excited to help you to master it.
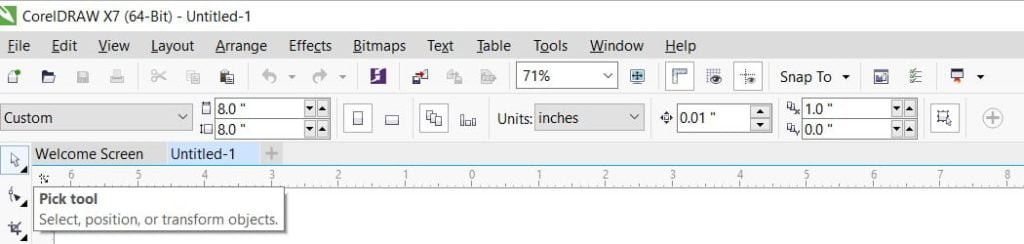
The pick tool is placed on the upper left side of CorelDraw and can be activated by left-clicking the mouse. So, I will show how to use this tool to pick, resize, rotate, and skew objects.
First, I have drawn a rectangle, which is currently selected, as shown in the image below. In this, you can see eight small squares around the object, which means that the object is currently selected.

These are called “handles” because you can grab them and apply some edits to the object. If you want to resize the object and maintain its proportions, only drag it from the corners, and the object will be scaled.
To efficiently resize an object, avoid dragging it directly up or down. Just drag it diagonally in the desired direction to make proportional adjustments. To change the shape of an object, or pull on its sides and move up or down as needed.
This approach allows more precise control over the object’s proportions and appearance.
You certainly do not want your work to be deformed in any manner. For example, if you are constructing a logo, scaling it in the wrong direction can distort the object, which is undesirable.
Rotate and Skew Object
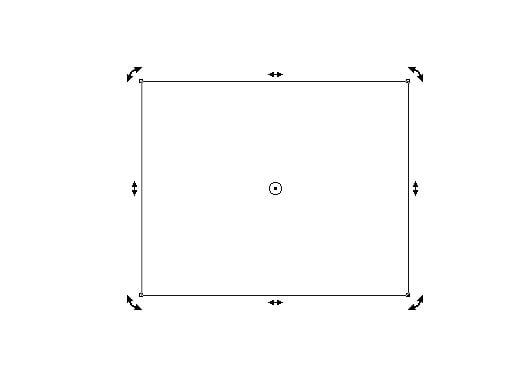
When you double-click on an object through the pick tool, it shows you four rotation handles and four skew handles around the object, through which you can rotate the object from any one corner point. Apart from this, with the help of the middle handle all around, you can skew the object.
You use all of these techniques from time to time in your design. Before I go any further, I’d like to share one last experiment with shortcuts that you’ll find extremely helpful.
For example, if another object is placed over one of your objects, how will you choose the thing below it? This is simple: press and hold the Alt key on your keyboard while left-clicking on the object. Yes, the object shown below has been selected.
Pick Tool Shortcuts
The Shortcut key for the Pick Tool is Spacebar. When working with another tool, hit the spacebar button to return to the pick tool. If you’re working on the text, use Ctrl + Spacebar.
I hope you found this tutorial helpful. If you have any questions about graphic design, feel free to post them in the comments section below. I’d love to hear your thoughts on this Coreldraw pick tool tutorial. Your feedback is invaluable and will help me refine my approach. Please share your comments so I can continue to improve.